How to Sterilize Seed Starting Mix: 3 Safe Methods
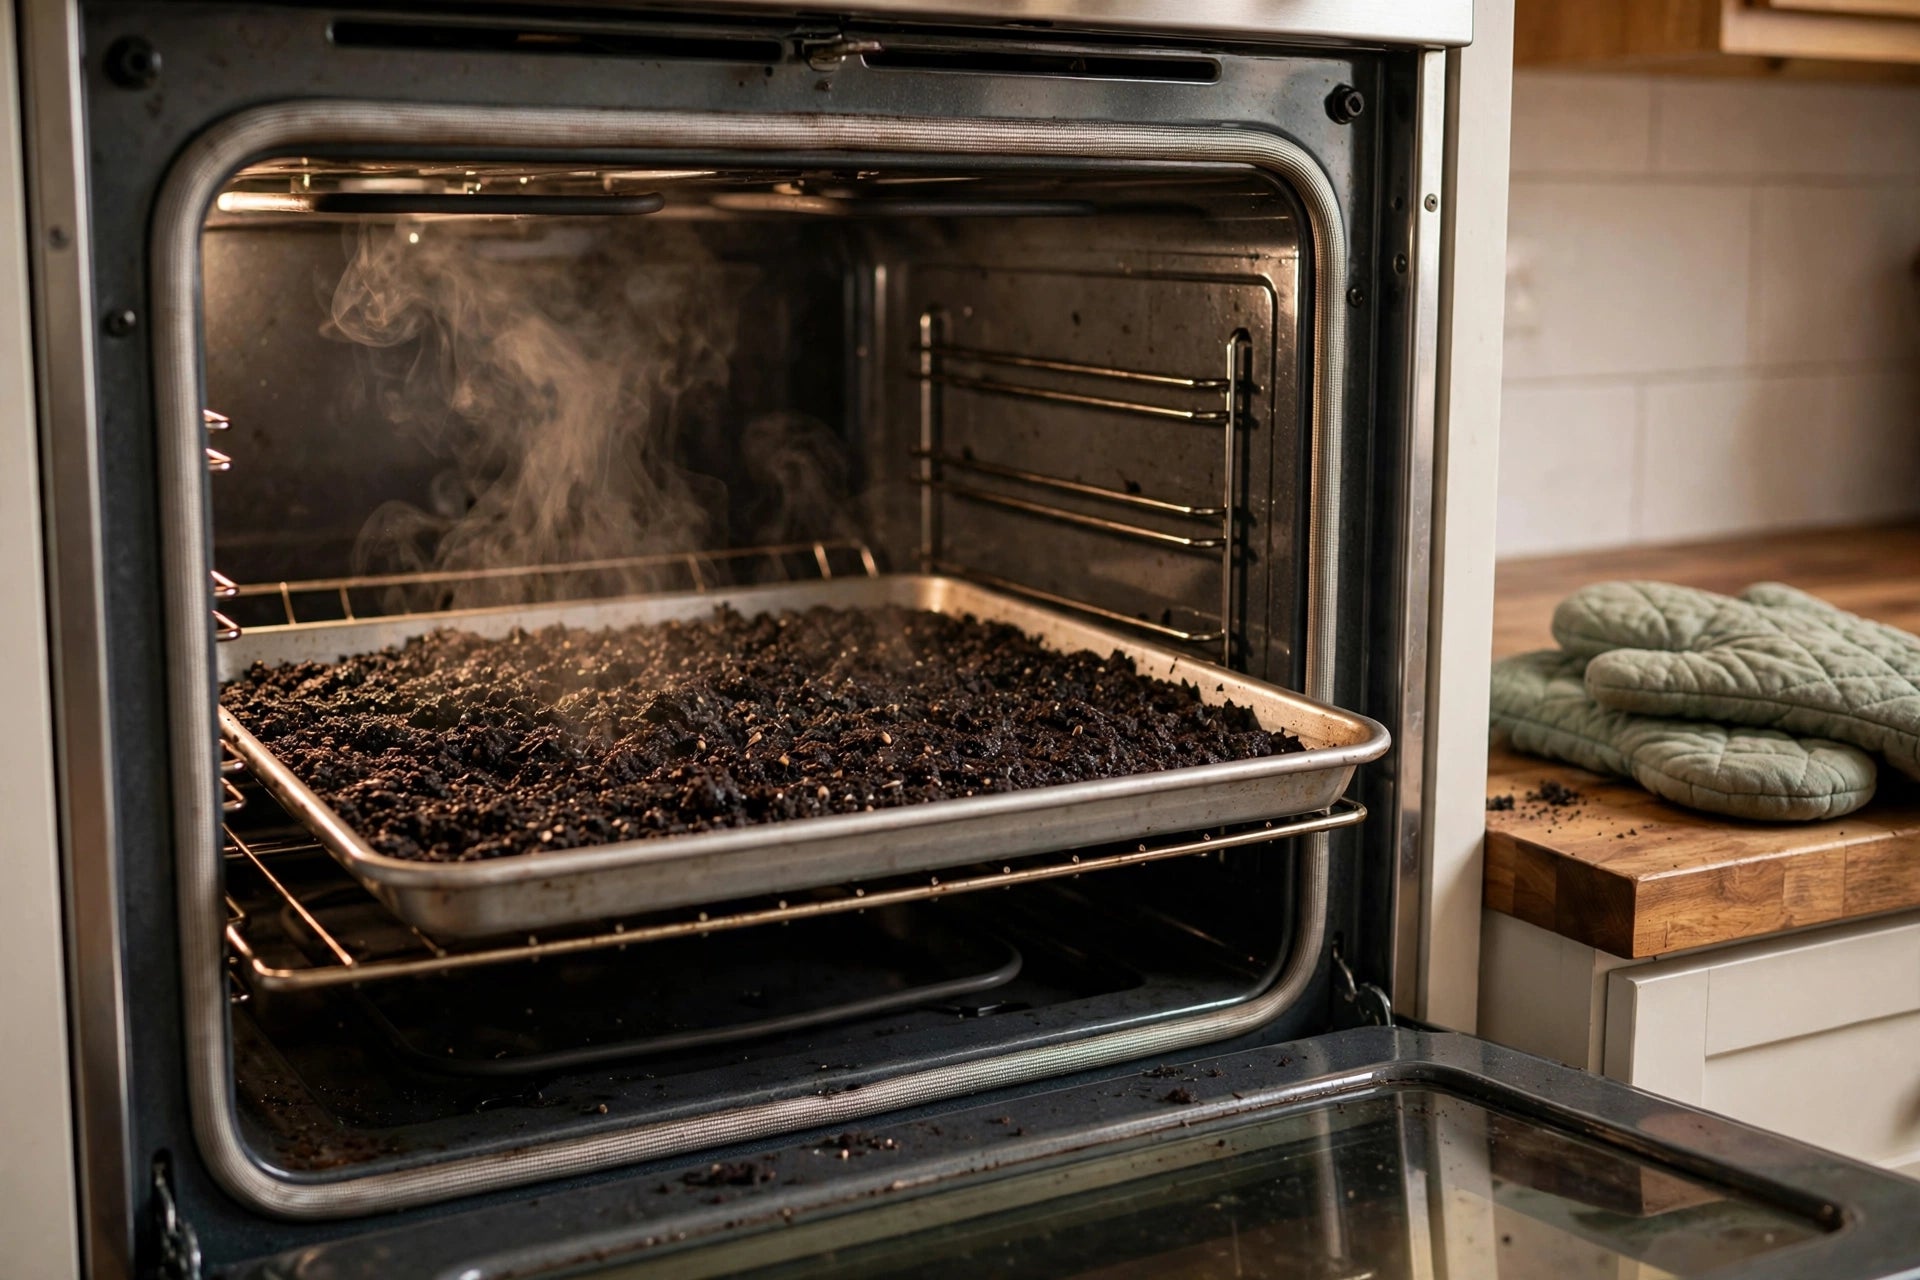
Sterilizing your seed starting mix before sowing is one of the most effective ways to prevent damping off, the seedling disease that rots seeds before they sprout and collapses young seedlings at the soil line. Heating the mix to 180–200°F (82–93°C) and holding it there for 30 minutes kills the soil-borne fungi and oomycetes behind the disease — mainly Pythium, Rhizoctonia, and Fusarium species — along with weed seeds and insect eggs. Three safe home methods do the job: the oven method, the microwave method, and the boiling-water method.
Why sterilize instead of just buying fresh mix
Commercial seed-starting mixes are usually free of damping-off pathogens when the bag is first opened, provided they have never touched open ground. Sterilizing becomes important in three situations: you are reusing last year's mix, you are blending your own mix from garden soil or compost, or a previous tray in the same mix suffered damping off or heavy fungus gnat problems. Reusing mix without treating it is one of the fastest ways to repeat a disease outbreak, because the pathogens that killed your last tray are still in there waiting.
One honest caveat: heat treatment also kills beneficial microbes along with the harmful ones. For seed starting, that trade-off is fine — seedlings do not need a rich soil ecosystem in their first weeks, and a clean start beats a biologically active but contaminated mix. Once seedlings are transplanted into the garden, they will pick up a healthy microbial community from real soil.
Safety rules for every method
Read this section before you heat anything. Work in a ventilated area: heated peat and compost release a strong earthy smell, and overheating organic matter above about 200°F can release unpleasant and potentially harmful fumes, so open a window or run the range hood. Use an oven thermometer rather than trusting the oven dial — home ovens routinely run 25°F hot or cold, and the target is the internal temperature of the mix, not the air around it. A basic probe thermometer is inexpensive and useful well beyond this one job; you will find practical options among the seed-starting tools on our gardening tools page. Moisten the mix first: damp mix conducts heat evenly, while dry mix heats unevenly and can scorch. And always let the mix cool completely before sowing — planting into hot mix cooks the seeds you are trying to protect. Never leave a hot oven or microwave unattended.
Method 1: the oven method (best for larger batches)
The oven method handles the most mix at once and gives the most even, controllable heat, making it the standard recommendation from extension services including Oregon State University Extension. Here is the procedure:
Moisten the mix until it feels like a wrung-out sponge — damp, not dripping. Spread it no deeper than about 3 to 4 inches in an oven-safe pan or roasting tray. Cover the pan tightly with a lid or aluminum foil to hold in the steam, which is what carries heat through the mix evenly. If you can, poke a meat or candy thermometer through a small gap in the foil so the probe sits in the center of the mix.
Place the pan on the middle rack of a preheated oven set around 200–250°F, and watch the thermometer — not the clock. When the center of the mix reaches 180°F, start timing: hold it at 180–200°F for 30 minutes. Do not let it climb past 200°F; overheating degrades the mix structure and can release toxins from the organic matter. After 30 minutes, turn off the oven and leave the pan covered until it cools completely, which takes a few hours. Cooling covered keeps airborne spores from recontaminating your freshly treated mix.
This method treats enough mix for several trays in one run. The downside is the smell — your kitchen will smell like a forest floor for an afternoon, which is why ventilation and household diplomacy both matter.
Method 2: the microwave method (fastest for small batches)
For a tray or two of mix, the microwave is faster and keeps the smell contained. Place about a quart of moistened mix in a microwave-safe container — glass or ceramic, never metal — and cover it loosely with a microwave-safe lid or vented plastic wrap so steam can escape without building pressure. Do not seal it airtight.
Heat on high for about 90 seconds to a few minutes, depending on the volume, until the mix is steaming throughout. For larger batches of 3 to 4 quarts, two or three shorter sessions with a rest between them work better than one long blast, because the resting time lets heat penetrate to the center. The container and mix will be extremely hot, so use oven mitts and let it cool with the cover on before using.
The main cautions: keep batches small, never microwave dry mix (it can scorch or even smolder), and do not overcook. Ninety seconds of steaming, moist mix is the goal — you are pasteurizing, not baking.
Method 3: the boiling-water pour-through (no oven needed)
If you would rather not heat soil in your cooking appliances, the pour-through method works with nothing but a kettle. Place the dry mix in a heat-safe bowl or bucket, then pour boiling water over it, stirring as you go, until the mix is evenly saturated and steaming. Cover the container and let it sit for 15 to 20 minutes so the heat penetrates fully, then uncover and let it cool and drain completely before using.
This method is the least precise of the three — you cannot verify an internal temperature — but it is simple, chemical-free, and effective at knocking back pathogens, weed seeds, and gnat eggs in small batches. Make sure the mix drains well afterward; waterlogged mix invites exactly the damping-off problems you are trying to prevent, so spread it in trays and let excess moisture escape before sowing.
After sterilizing: keep it clean
Sterilized mix is only clean until something recontaminates it, so the follow-through matters as much as the heating. Wash trays, pots, and tools before refilling them — Oregon State Extension recommends rinsing containers in a solution of 1 part household bleach to 9 parts water after washing, then letting them air-dry. Use clean hands or gloves when handling the cooled mix, store any extra in a sealed bag or covered bin, and never set sterilized mix on bare garden soil or reuse the scoop you used for the compost pile.
Then protect your investment with the cultural practices that keep damping off away for the rest of the season: sow at the right depth, water from the bottom, give seedlings strong light, and add gentle airflow. Our guides to setting up a fan for seedlings and what to do when seedlings damp off cover the next steps, and the full picture is in our damping off guide.
A note on climate and region: sterilizing pays off most in cool, damp springs — the Pacific Northwest, the Northeast, the upper Midwest — where slow-drying trays sit in the danger zone for damping off for weeks. In hot, dry climates where trays dry fast and seeds move quickly, fresh bagged mix and good watering habits are often enough without heat treatment.
If you are starting flower seeds or vegetables from your own saved seed, which can carry surface pathogens from the parent plant, sterilized mix plus clean containers removes the two biggest disease reservoirs at once. It is a small chore that pays for itself the first time a tray comes up clean.
Frequently asked questions
Do I need to sterilize brand-new bagged seed starting mix? Usually not. Commercial mixes are generally pathogen-free when the bag is first opened. Sterilize when you are reusing mix, blending your own from soil or compost, or recovering from a previous damping-off outbreak in the same batch.
Will sterilizing hurt my seedlings? No, as long as you stay at or below 200°F and let the mix cool fully. Overheating past 200°F can damage the mix structure and release unwanted compounds, which is why an oven thermometer and the 180–200°F window matter.
Can I sterilize mix in the microwave more than once? You can, but there is rarely a reason to. One proper treatment per batch is enough. If a tray still develops disease after sterilizing, the contamination likely came from containers, tools, water, or the seed itself rather than surviving the heat.
Does sterilizing kill weed seeds too? Yes — sustained heat at 180°F for 30 minutes kills most weed seeds along with pathogens and insect eggs. This is a real bonus when you are reusing garden soil or compost in your mix.
How should I store sterilized mix? Cool it completely, then keep it in a sealed bag or covered container in a clean, dry spot. Use it within the season; stored mix can pick up contaminants over time, especially in a damp garage or shed.
Is solarization — heating mix in the sun under plastic — a good alternative? It can reduce surface pathogens in warm, sunny climates, but the heat does not penetrate deeply, so it is far less reliable than oven or microwave treatment for tray-size batches. Treat it as a supplement, not a replacement, in regions with intense summer sun.
Sources
- Oregon State University Extension — pasteurizing soil and compost at 180°F for 30 minutes; sanitizing containers with 1:9 bleach solution - UC Integrated Pest Management — damping-off pathogens, sanitation, and cultural prevention - Utah State University Extension — damping-off causal agents and moisture management - Cornell Cooperative Extension — seed-starting sanitation and growing-medium guidance
Wrapping things up!
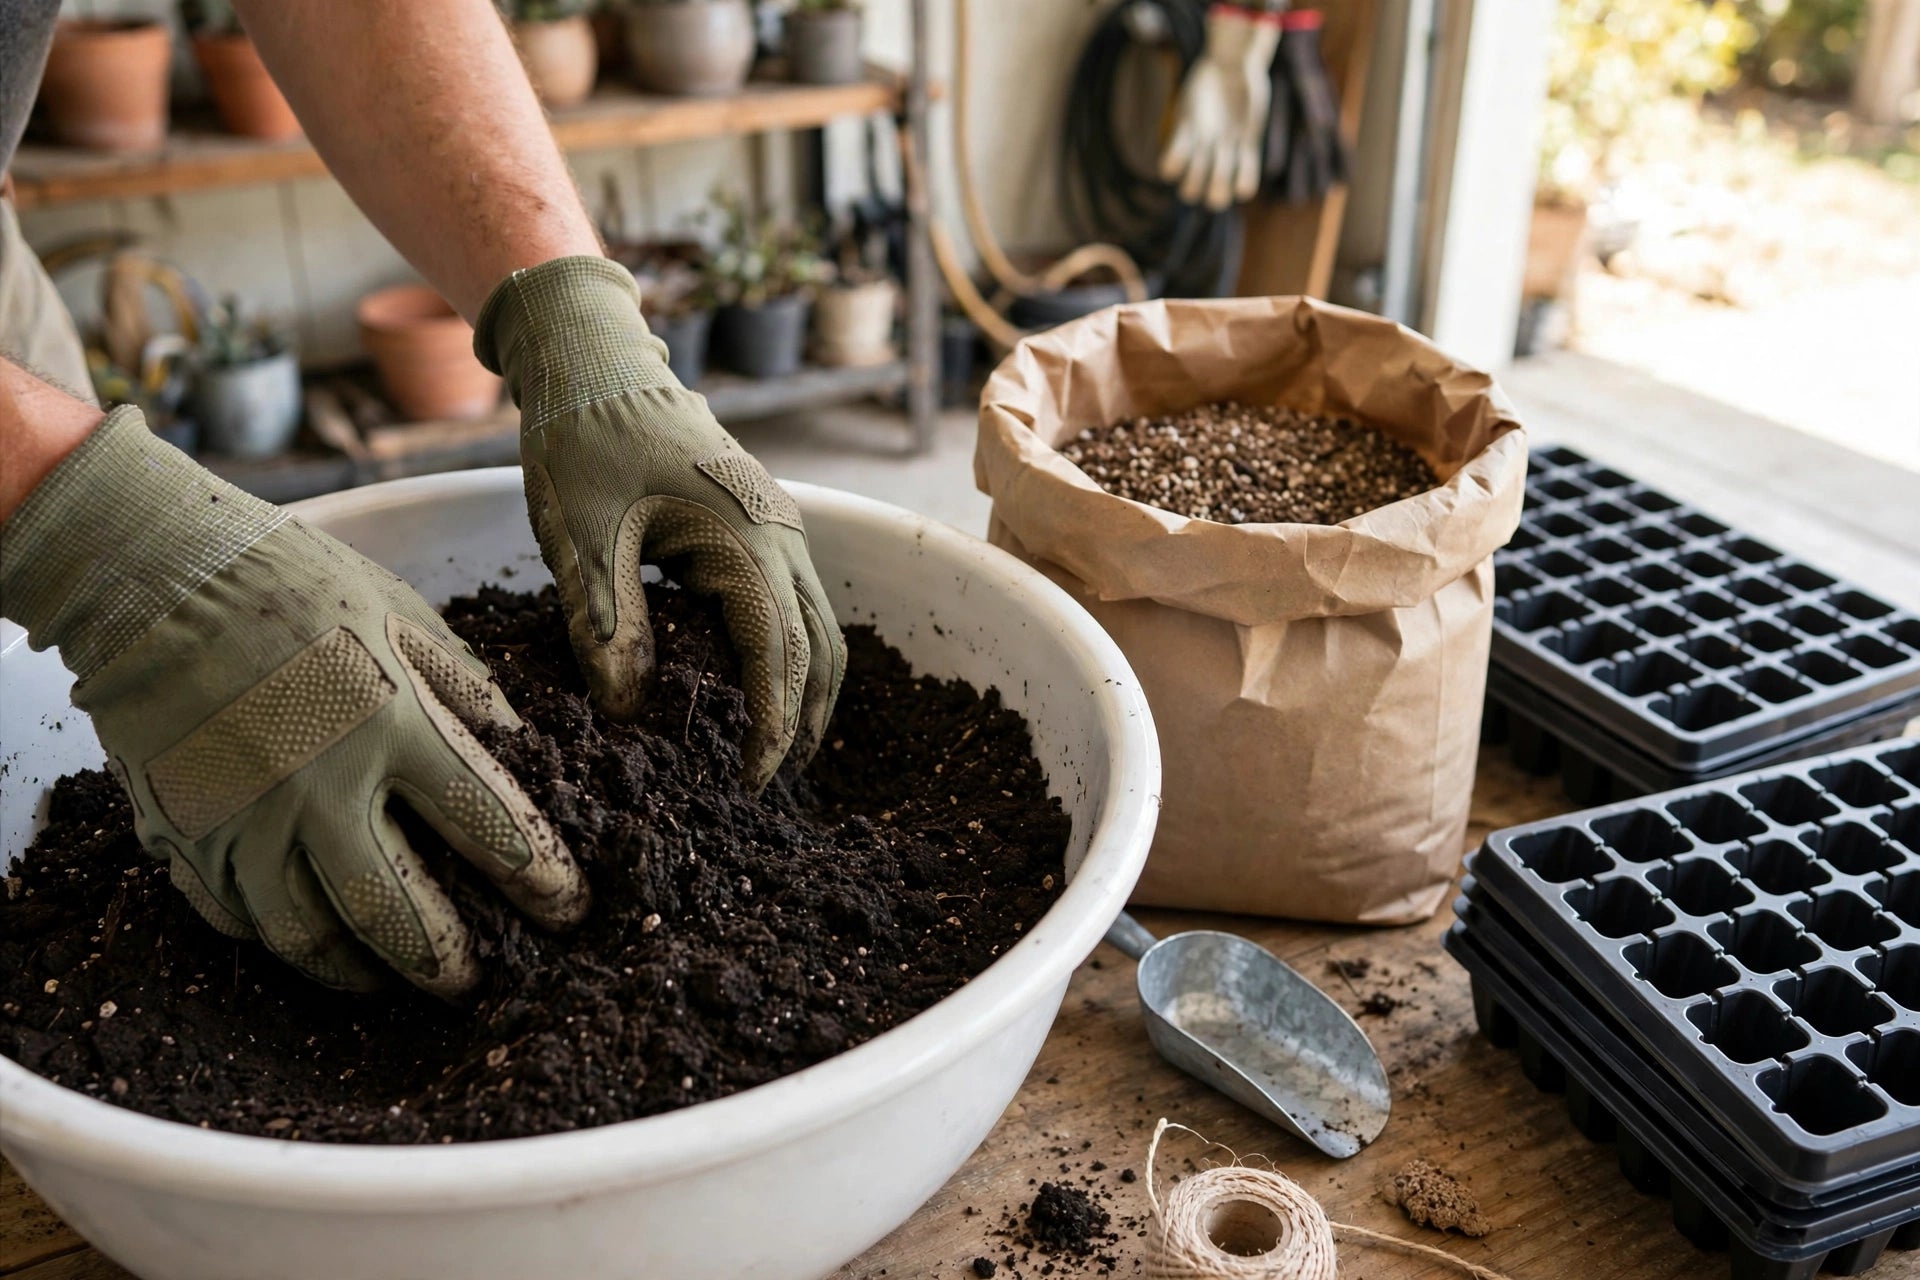
Sterilizing seed starting mix is a once-per-season chore that takes an afternoon and removes one of the biggest causes of seedling failure. Pick the method that fits your batch size — oven for volume, microwave for speed, boiling water for simplicity — respect the temperature limits, and keep everything clean afterward.
Combine sterile mix with bottom-watering, good light, and gentle airflow, and you have given your seedlings the clean, calm start that damping-off fungi cannot exploit. That is prevention doing its quiet work before any problem appears.