

How to Make Cutworm Collars: DIY Seedling Protection
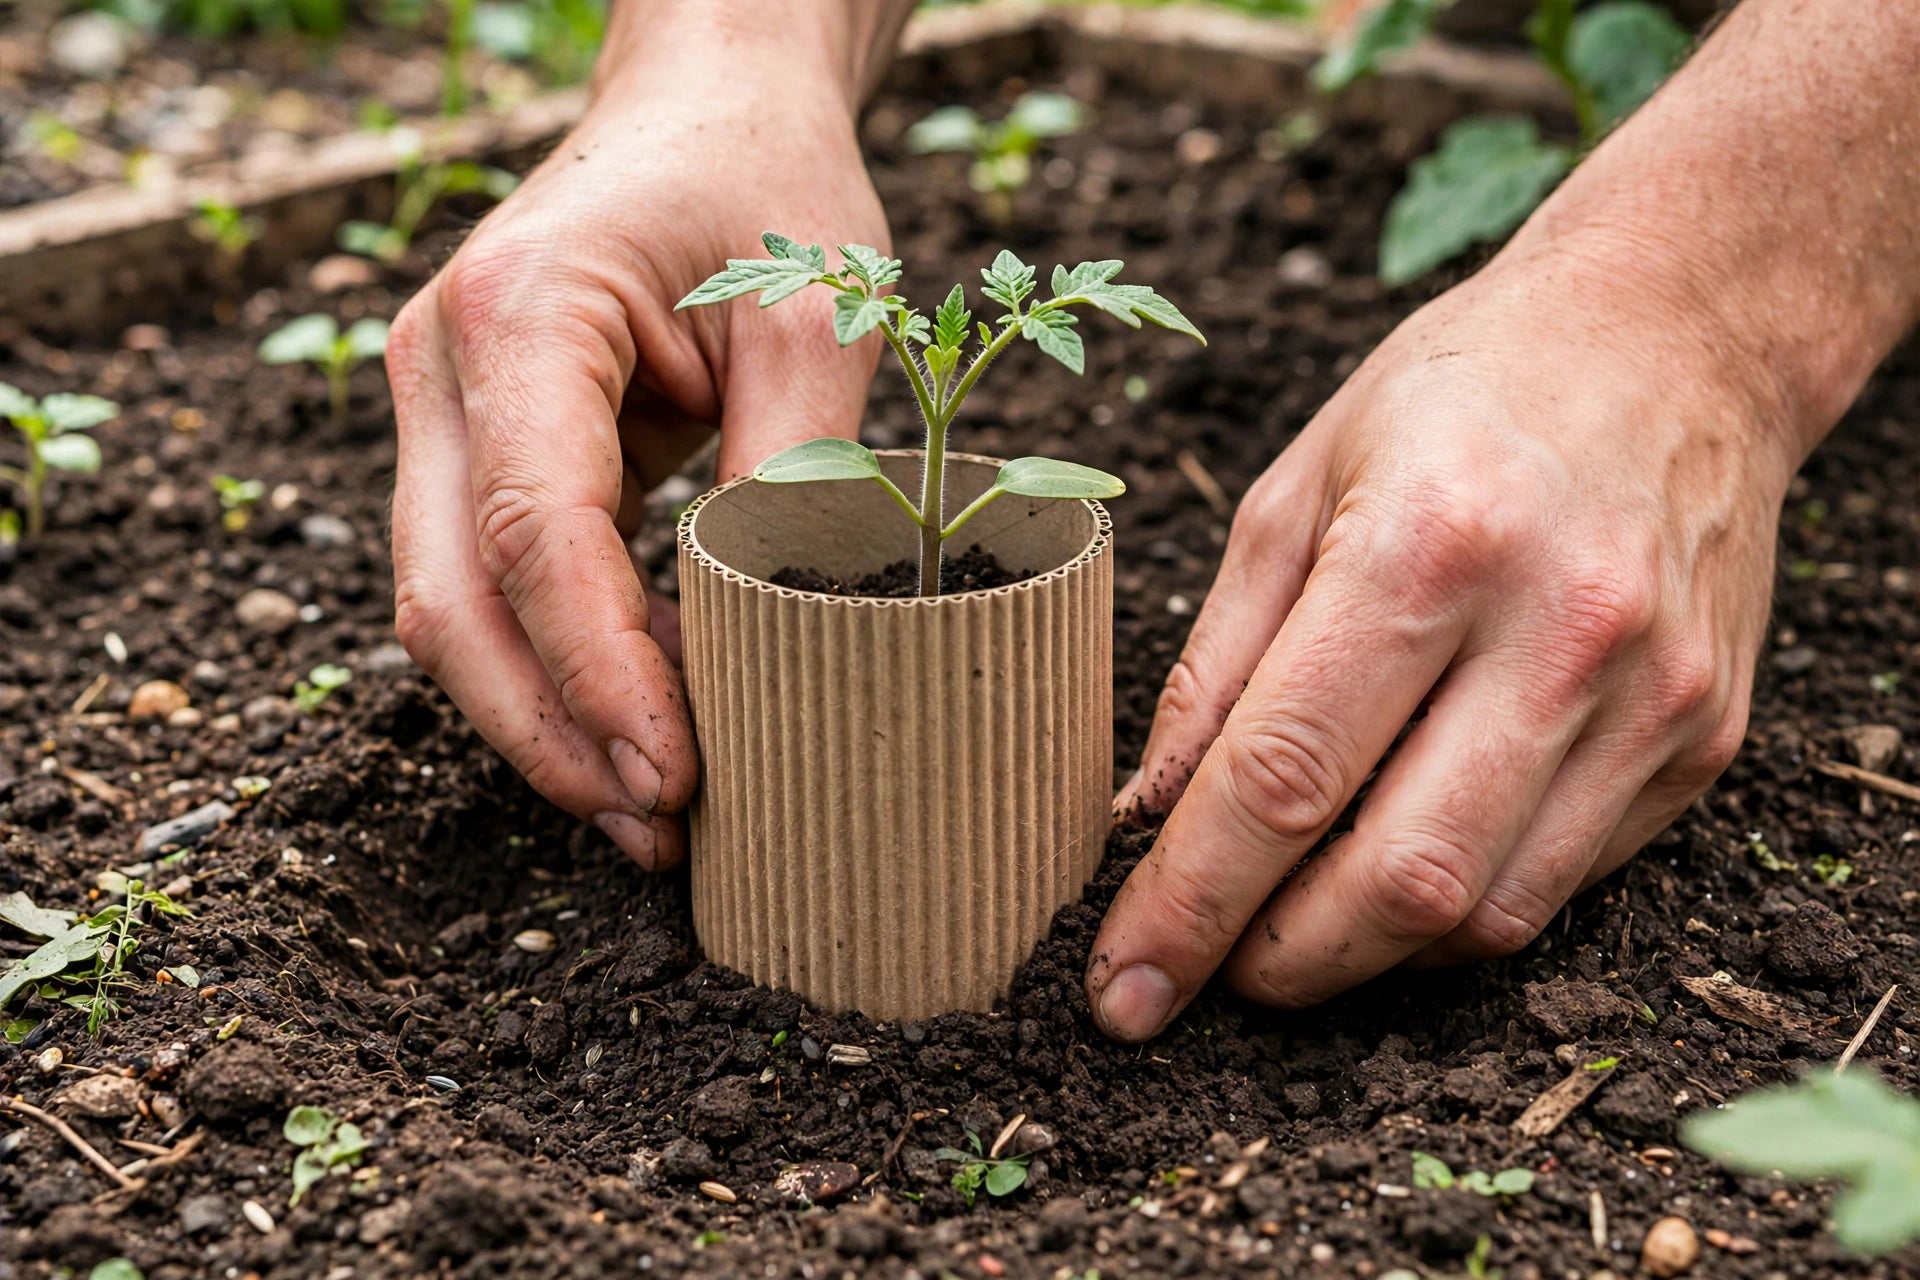
Of all the cutworm controls ever devised, the humble collar has the best ratio of effort to results.
No sprays. No special purchases. No waiting for predators to build up. Just a ring of cardboard around each stem — and the cutworm's entire feeding method stops working.
UC IPM lists cardboard collars around transplants as a recommended cutworm control for home vegetable gardens. The method is old, proven, and nearly free. This guide covers how collars work, what to make them from, and the installation details that separate collars that work from collars that don't.
If you haven't confirmed cutworms are your problem yet, start with our cutworm identification guide — then come back and armor up.
HOW A Collar Stops A Cutworm
Understanding the mechanism helps you build better collars.
A cutworm feeds by wrapping its body around a young stem at the soil surface and chewing through it. It needs to encircle the stem to get leverage. A collar breaks this in two ways: it puts a physical wall between the larva and the stem, and its below-ground portion blocks the larva from reaching the stem at the soil line, where feeding happens.
That's why the details matter. A collar that's too short, sits on top of the soil instead of in it, or leaves a gap against the stem gives the cutworm exactly the opening it needs. Build it right and the larva simply moves on to easier pickings — ideally, into the jaws of a waiting ground beetle.
FREE Materials THAT WORK
Start with what's already in your house. Every one of these has protected countless seedlings.
Toilet Paper and Paper Towel Tubes
The classic. A toilet paper tube is almost the perfect collar as-is: about 4 inches tall, the right diameter for most transplants, biodegradable.
Cut the tube into 2 to 3 inch sections. Slit each section down one side so you can open it around the stem — this also lets the collar expand slightly as the plant grows. Sink it about an inch into the soil.
Paper towel tubes cut into thirds work the same way. In a wet spring they soften after a few weeks, which is fine — by then the plant has usually outgrown the vulnerable stage.
Cardboard Strips
Corrugated cardboard or cereal-box card, cut into strips about 2 to 3 inches wide and long enough to circle the stem with overlap. Form into a ring, staple or tape the overlap, and press an inch into the soil.
Cardboard is sturdier than tubes in rainy weather. Wax-coated cardboard (like milk cartons cut into strips) lasts even longer.
Newspaper
Several sheets of newspaper wrapped into a thick band around the stem. Less durable than cardboard — it disintegrates faster in wet soil — but genuinely free and fine for short protection windows or dry climates.
Aluminum Foil
A strip of heavy-duty foil wrapped loosely around the base of the stem, extending an inch below the soil surface. Foil has a bonus effect: its reflective surface is thought to deter some egg-laying moths, though the physical barrier is the main benefit.
Wrap it loosely. A tight foil wrap can constrict a growing stem or trap moisture against it.
Household Options THAT ALSO WORK
Plastic Cups With the Bottoms Cut Out
Yogurt cups, disposable drink cups, nursery pots with the base removed — any rigid plastic cylinder works. Cut out the bottom completely (roots and water need to pass through), slit one side, and sink it an inch into the soil.
Plastic lasts all season without softening, which is an advantage in long, wet springs. The downside: you have to remember to remove and reuse or recycle them, since they won't biodegrade.
What About Commercial Collars?
They exist — usually plastic or treated-paper rings sold in garden centers. They work fine, but there's no evidence they work better than a toilet paper tube. Spend the money on seeds instead.
Installing Collars THE Right WAY
The material matters less than the installation. Get these four details right:
Install at transplant time. Cutworms can strike the first night a seedling is in the ground. A collar installed a week after planting has already missed its most important nights. Make collars part of your transplanting routine: dig hole, set plant, fit collar, water in.
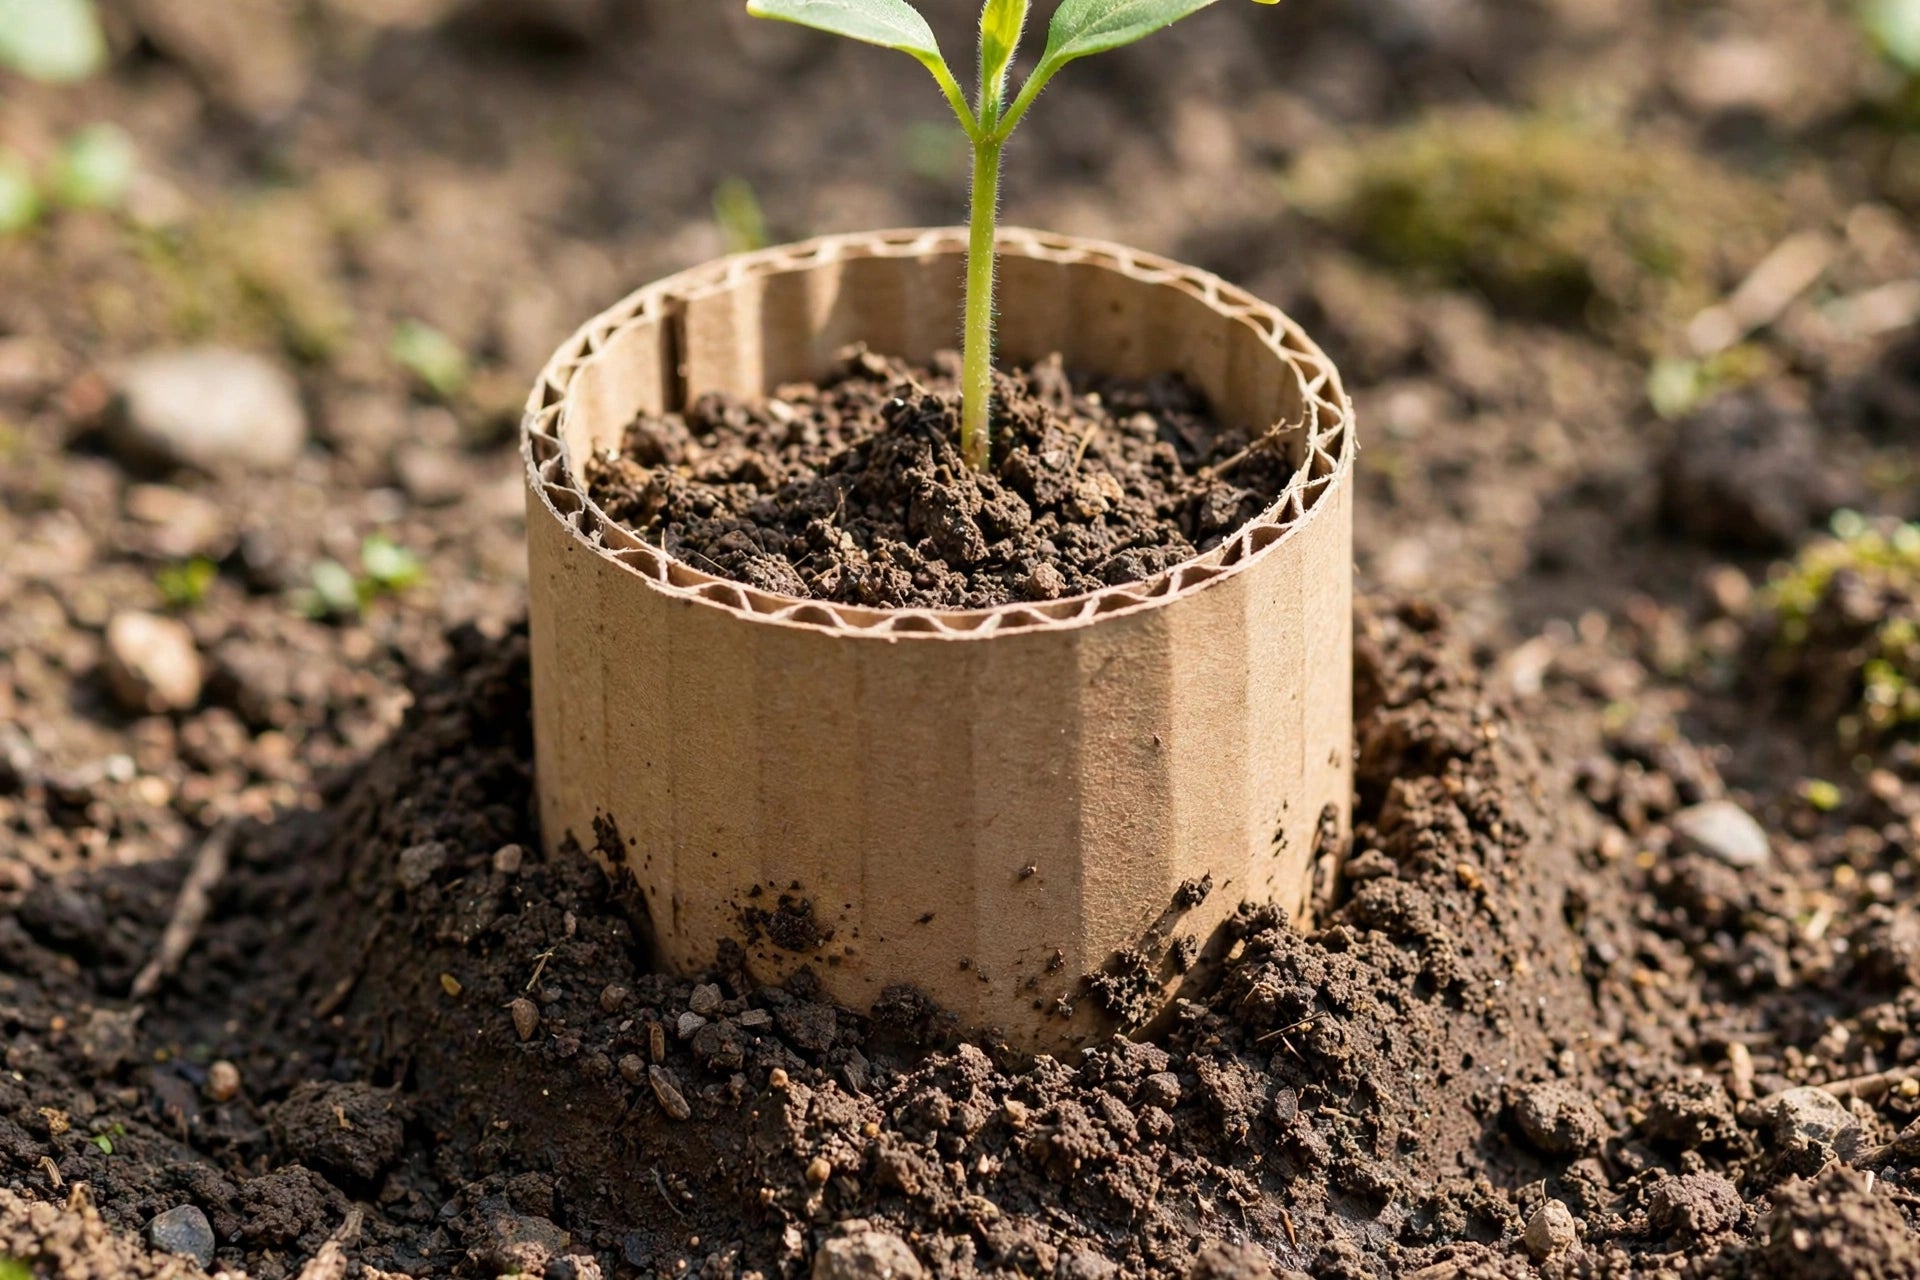
Sink it an inch into the soil. This is the detail most people skip, and it's the most important one. A collar resting on the soil surface leaves the soil-line zone — exactly where cutworms feed — completely exposed. Push it down so about an inch is buried and 1 to 2 inches stand above the surface.
Keep it snug but not tight. The collar should sit close to the stem with no gaps a larva could slip through, but loose enough that the growing stem doesn't get strangled. The slit-side design handles this naturally — overlap the slit edges rather than taping them shut.
Firm the soil around the base. After placing the collar, press the surrounding soil gently against its outside. This closes any tunnels or gaps at the soil-collar junction.
WHEN TO Remove THEM
Cardboard, paper, and newspaper collars can simply be left to decompose — pull away any remaining fragments at season's end during bed cleanup.
Plastic and foil collars should come off once stems are clearly woody and thick — roughly pencil-thickness or more, usually 3 to 4 weeks after transplanting. Leaving rigid plastic on too long can constrict growth or trap moisture. If a stem has already grown snug against a plastic collar, slit the collar and ease it off rather than pulling.
In warm climates with extended cutworm seasons, you can leave protection on longer — just check periodically that the stem isn't being constricted.
Collars PLUS WHAT?
Collars are outstanding single-plant protection, but they're one layer. They pair well with everything else in the IPM toolkit:
Collars + Bt. For large plantings where collaring every plant isn't practical, collar the most valuable or vulnerable transplants and treat the rest with Bt spray on schedule. Evening applications, aimed at the base of plants, per our cutworm action plan.
Collars + row covers. Covers exclude egg-laying moths; collars stop the larvae already in the soil. Together they cover both halves of the problem.
Collars + fall cleanup. Collars protect this season's plants. Removing weeds and debris at season's end reduces next season's cutworm population before it starts.
Collars + beetle habitat. The larvae that collars turn away become meals for ground beetles patrolling the bed. Defenses that cooperate beat defenses that work alone.
One thing collars don't do: they don't help plants that are already cut. A severed seedling won't regrow from the stump (cabbage, tomatoes, peppers — none of them). Collars are strictly prevention. If damage is already happening, combine tonight's emergency collars with a flashlight patrol to remove the active larvae.
Timing your transplanting and protection around your last frost date makes the whole system work better — the frost date calculator in our gardening tools hub helps you plan the window.
Wrapping Things Up!
The cutworm collar might be the highest-value fifteen seconds in vegetable gardening: grab a tube, slit it, sink it, done. Pennies of material, a few seconds per plant, and your seedlings sleep safely while cutworms prowl.
Start saving those toilet paper tubes now. By transplant season you'll have an armory.
Growing a full bed of seedlings to protect? Browse our vegetable seeds — every variety page links to a free growing guide, so your transplants go out stocky, hardened off, and ready for their collars.
Frequently Asked Questions
How tall should a cutworm collar be?
About 2 to 3 inches tall overall, with roughly an inch buried below the soil surface and 1 to 2 inches standing above it. Taller isn't meaningfully better — the feeding zone is right at the soil line, so coverage just above and below that line is what counts.
Can I use collars on direct-sown seedlings, not just transplants?
Yes, with care. Wait until the seedling is sturdy enough to handle the collar being pressed into the soil beside it — usually once it has a couple of true leaves. For very tiny seedlings, a ring of fine mesh or a bottomless cup placed over the seedling (like a mini cloche) works better than a tight collar.
Will collars stop slugs too?
Partially. A collar can deter slugs from reaching the stem base, but slugs climb — they'll go right over a short collar to reach leaves. For slug problems you need slug-specific controls (iron phosphate bait, trapping boards). Our cutworms vs slugs guide explains how to tell which pest you're dealing with so you use the right defense.
Do collars work for cutworms that climb into foliage?
Collars specifically block the stem-cutting behavior at the soil line, which is the most destructive cutworm damage. Some cutworm species do climb to feed on leaves and fruit later in the season — collars won't stop that, but by then plants are larger and tolerate foliage feeding far better. Bt spray covers the climbing feeders if needed.
How many seasons can I reuse plastic collars?
Indefinitely, if you clean them. Wash off soil at season's end, store dry, and inspect for cracks before reuse. It's one of the genuine advantages of plastic over cardboard — a set of cup collars can serve for years.